Tuesday 18 September 2018

Craft Consortium Winter Woodland Travel Journal

Hello! Design elf Katrina here. I am so sorry I have been AWOL lately but between internet problems and life, the summer has just flown. Now though everything , except the internet, is back to normal and ready to craft, craft, craft!!

   If you have read this blog before, you might have noticed I love Austria, it’s our second home. This summer we have had two wonderful holiday there. For each holiday I make myself a journal. This is the one I made for our week in Obergurgl Tirol.


I made the base of the cover from recycled box card so it gave me a nice stiff cover.

I covered it with the beautiful Craft Consortium Winter Woodland papers and added some decorations cut on my Silhouette Cameo.


I added pockets for keepsakes and then for the journal itself,  I folded A4 paper in half and cut a cover from one of the Craft Consortium papers and stitched it all together.

I used elastic to hold the journal into the cover so I could remove it to write in it each day.


I couldn’t resist the cute little metal acorns from Craft Consortium and tied them onto the elastic. 

I also made a elastic wrap to hold the cover shut when it full of keepsakes.


Thought it would make a nice wrist wrap too!

You can find the paper pad in the shop here-
https://www.thefruitpixie.co.uk/craft-consortium-premium-paper-pads-714-c.asp

Well I hope you had a great summer and will join me here again soon for another project very soon.

Until then, take care 
  Love Katrina 


Wednesday 8 August 2018

Art Journaling with gilding flakes

Hello, design elf Katrina here to show you my new art journal page using gilding flakes and stencils.

  I have just begun my own YouTube channel, The Arty Parrot and you can find a video showing how I made my page on my YouTube channel.


The video will show you how I made the background and then how to use gilding flakes with a Quicky Glue pen.

You can find all things, except the shine brightly piece that is from Tim Holtz.


Sunday 1 July 2018

Craft Consortium decoupage paper Hare

Hello, design elf Katrina here to share another project with you. Today it is a project using the Craft Consortium decoupage papers.

  I found this wonderful hare in my local Pound shop, he was painted bronze and, if you didn’t touch him, looked pretty convincing. But with a little crafting magic he looked, in my opinion, even better!


To begin with I covered him in several coats of white gesso. I like a white base for the Craft Consortium decoupage papers so the design shines out.

Then I got to work with the papers. I tore around the little images in the paper and gradually applied them to the hare. Tarring will help the little pieces meld into each other and give you a nice even finish.

I apply the wet glue to the surface of the hare, the back of the paper and once the paper is on the hare, over the top the paper too. I find it easier to do the last step with my finger but if you don’t fancy that then a brush is fine.

Once he was completely covered and dry, I used a pastel pencil to add some shadows and then rubbed in some pearl paint to seal the pastel pencil and add some glimmer.


I just couldn’t stop myself from adding a die cut bow tie cut from one of my Gelli plate prints that matched the pink flowers of the decoupage paper.

You can find the Craft Consortium decoupage papers in the shop here -

The IndigoBlu Slap it on glue here -

If you have any questions then please ask them below.

       Until the next post, take care, 
                        Love Katrina x


Sunday 17 June 2018

Music lovers birthday card

Hello, design elf Katrina here. I am sorry there hasn’t been a blog post for a while but I have been battling with the free app I was using and was not winning the battle. So I have now bought an new and better app and it looks like I am back on track. 

So today I have a stamped birthday card I made for my hubby who have always loved his music and is of an age that he remembers these little beauties very, very well!
 

The stamp I used is the Visible Image Just hit play stamp set that can be found here -

I stamped the background in grey and then the main image in black three times, cut them out and then layered them up.

The red sentiment is a Lawn Fawn die of my own.

I hope you liked my stamped card and will return again soon to see my next blog post.
Love Katrina 

Sunday 27 May 2018

Busy as a bee pot

Hello, design elf Katrina here with another project to show you.   Today I have an altered custard powder tin to show you. I covered the tin with the wonderful Craft Consortium “Tell the Bees” papers and then stamped some of the wonderful bee stamps and cut them out. Then glued them to the outside of the tin.
The letters for Busy as a Bee were cut on my Silhouette Cameo.
 
I stuck some of the ribbon from the collection around the top and bottom.
I also added some of the collection sequins to add a bit of sparkle!
 
You can find the Craft Consortium “Tell the Bees” collection in the shop here -
 
I will be back very soon with another project, until then, take care
                   Love Katrina x


Thursday 10 May 2018

Puppy countdown

Hello! Design elf Katrina here again to share my latest project with you.    My sister is collecting her new puppy very soon and to say she is excited is an understatement! This little pup will become a school dog so we are all very excited to get to know her.      I thought it would be nice to make her a countdown so she can count down the days to collection day!    Here is what I made. Of course you don't have to be collecting a puppy, it could be anything you are looking forward to, a holiday, baby or just a day off!

The papers are from the Craftwork cards Bohemian Dreams, as are the flags.

The chalk board is a piece of Chalkboard card.

The letters and other die cut shapes were cut from scrap card on my Silhouette Cameo.

I then used a white pen to add some detail.


You can find the paper pad in the shop here -

http://www.thefruitpixie.co.uk/craftwork-cards-8-x-8-collection-pack-bohemian-dreams-25673-p.asp

The chalkboard card -

http://www.thefruitpixie.co.uk/chalkboard-paper-25905-p.asp


I hope you have something nice you can make a countdown to for your home

Until next time

                 Love Katrina 


Sunday 22 April 2018

3D beehive card

Hello! Design elf Katrina here with a new project to inspire you.   Well here in the South West of England spring is finally here! The birds are nesting and the bumblebees are busy in the flowerpots. Perhaps that is what inspired me to make this card.      Its a 3D Beehive shaped card. I designed it myself in the Silhouette software which comes with the Silhouette electronic cutting machines. I have designed it so it will lay down flat to post it.

The papers I used for my card are the “Tell it to the bees “ papers from Craft Consortium, which are back in stock!

I used the gold hexagon paper for the hive and the bees I cut out of another paper which has rows of bees on it. 

I wanted my bees to hover over the card front so I attached some craft wire to them and then wrapped it around a pencil to make a kind of spring.

All the beautiful sequins are also from Craft Consortium Tell the bees set.


You can find the Craft Consortium Tell the bees paper pad in the shop here -

http://www.thefruitpixie.co.uk/craft-consortium-paper-pad-tell-the-bees-26864-p.asp


The Craft Consortium Tell the bees sequins here -

http://www.thefruitpixie.co.uk/tell-the-bees---honeycomb-sequins-26880-p.asp


 Any questions about my project I will be happy to answer.

Until next time, love Katrina

Tuesday 10 April 2018

Jazz it up card

Hi, design elf Katrina here. This weeks blog project is a card for Jazz fans!!   I made this card using the Cosmic Shimmer Pixie Powders, this time using them on photo paper. They really swirl around on the slick surface of the paper, just make sure you tape it down on all 4 sides before you begin as it will want to warp.

Once the background was toughly dry I used the Visible image Jazz it up stamp set to stamp the main image in an archival ink.

For the mat I cut a piece of white card a little bigger than the main topper. I mixed the gold Pixie Powders into a paint by adding water and painted a strip around the edge of the card piece and left it to dry.

The card base I stamped with another Visible image stamp set, Soul music.

Once the mat was dry I layered my card up stamped and the Jazz it up stamp again on the card blank to finish it off.

I hope you liked my Jazzy card.

You can find the stamps here-

Jazz it up 

http://www.thefruitpixie.co.uk/visible-image-jazz-it-up-25144-p.asp

Soul music -

http://www.thefruitpixie.co.uk/visible-image-soul-music-25141-p.asp

Archival ink -

http://www.thefruitpixie.co.uk/archival-ink-pads-339-c.asp


The pixie powders can be found in the Fruit Pixies Etsy shop.


Any questions I am happy to answer, best to hop over to our Facebook page.

Until next time, take care,


Love Katrina x

Sunday 25 March 2018

Bunny broaches

Hello, design elf Katrina here again with another project to show you. As Easter is just around the corner I thought it would be nice to make something for Easter. So I designed these cute little bunny broaches which I thought would make a nice little gift. As they are quick and easy to make they would make a perfect little project for the Easter holidays.  
 
I made them with the Ranger sticky backed canvas, an amazing product that you can do so much with. Using canvas means they will be supple and so you wont have to worry about them becoming bent while wearing them.
 
Making them is very simple. 
 
I made myself a template using a scrap piece of card. I drew around 2 round objects  (I used my round die set) one smaller than the other to make the body. I then drew and bunny ear and drew around that to make my second ear. I glued the ears onto my bunny body to finish the template.
 
Then I cut a strip of the sticky backed canvas, using the template to judge how wide I needed it. I then folded the strip in half bottom to top, peeled off the backing paper and stuck the two halves together. If you start at the fold and smooth up, you wont get any bubbles.
 
Using my template I drew my bunnies and cut them out.
 
I used the Cosmic Shimmer paints in pastel colours to paint both sided of my bunnies.
 
When dry I drew around the outside with a crayon.
 
I decided not to draw any features on my bunnies but just added a little bow and a pompom from a pompom trim I had for his tail. You can add what ever you have to finish them off.
 
I added a broach back to the back using a small strip of the sticky backed canvas with a little PVA glue to add extra strength. If you don't have any broach backs then a safety pin works just as well
 
 
I made my bunnies into little broaches but you could put them onto slide backs, key-rings or on cards too. There are all sorts of ways to use them.
 
Here are the products I used from the shop-
 
Ranger Sticky backed Canvas -
 
Cosmic Shimmer paint -
 
Bows -
Or
Or
 
Broach backs-
 
I hope you like my little bunnies and will have a go yourself.
 
Until next time Happy Easter 
 love Katrina
 

Saturday 3 March 2018

Snow fairy paper doll

Hello, design elf Katrina here to show you my latest project I have been working on for The Fruit Pixie

  I always enjoy making paper dolls and I used to love to play with them as a child. I hadn’t made one
in a while so, inspired by the beautiful costumes of Korea being shown during the Winter Olympics in PyeongChang, I decided to make Snow Fairy.


To start with you need a doll to dress. I used the medium art doll rubber stamp plate from The Artistic Stamper. 
I stamped them onto watercolour paper. If you don’t want the stamped lines to show then stamp onto what will be the back and then just turn them over and swap sides if it is an arm or leg.

I decided to use watercolour paint to colour the body bits that would show.

For her hair I added an extra piece of watercolour paper to the back of her head and then drew and painted her hair with watercolour.

I wanted a nice icy feel the feel of the paper I used for her dress and coat so I chose the Craft Consortium Winter Woodland papers


Of course every fairy has to have a wand and wings.

The wings I cut using my Silhouette Cameo electronic cutting machine and then used some of the 
IndigoBlu Megaflakes to give a bit of sparkle.

For her wand I cut out the styalised flowers and built them up to look like a snowflake.


She was then ready to sprinkle her snow! I didn’t quite expect so much!!

If you would like to make a snow fairy like mine you can find the 

Art doll stamps here -

The Craft Consortium Winter Woodland papers here -


IndigoBlu Megaflakes here -

Hope to,see you again very soon with my next project. Until then stay warm 
Love Katrina x


Sunday 18 February 2018

Mixed Media cards

Hello, design elf Katrina here to show you my latest project.   One of my favourite new product that had burst onto the craft market recently is the watercolour pigment powders. There are lots of makes on the market and no matter which ones you choose they really are great fun to play with and give you lots of different looks.   The Fruit Pixie sells the IndigoBlu luscious pigment powders and the Cosmic Shimmer Pixie Powders (available in the Fruit Pixie Etsy shop)   But what are they exactly?      Well, they are dried watercolour pigment mixed with mica powder. They react with water to give you a watercolour paint. The beauty of them is they are so fine you can sprinkle them onto your project and they give you tiny bursts of shimmering colour. You can also mix them with water to make a shimmery paint to use in the same was as you would any watercolour.   Are they easy to use?          Each make of these pigments come in different packaging. With all of them though you need to keep them as dry as you possibly can as a touch of moisture and they will react.         The Cosmic Shimmer Pixie Powders come in a plastic bottle, the same as their PVAs, they have a tiny hole that you can puff the powder out of to give you a really fine amount or you can knock the powder out if you want more of the powder in one go. They then have a screw on top to keep the powder nice and dry when not in use.        The IndigoBlu luscious pigment powders come in an open neck container. You need to use something to scoop the powder out of the container and sprinkle onto you project. You can use a lolly stick or coffee stirrer but I found the handle end of a medicine spoon used upside down gave you a tiny scoop with high sides so easy to sprinkle tiny amounts each time. You need to remember to put the lid back on to the pot each time to keep the moisture out     What can I do with them?         There are lots of ways to use them but to start with you basically use them wet or dry.              Wet - place a drop or two of water onto your pallet ( you can reactivate them after they have dried so I recommend using something you can keep to use again later like a plastic pallet ) them add the pigment powder and mix into a paint. You can then use as you would any other watercolour. Once you have finished allow it to dry out. You can then re-activate it again by adding water.             Dry - As you will be adding a lot of water to your project I recommend using a watercolour paper for this. Spray your paper with water and while it is still wet sprinkle the pigment powders over the top. Watch as they burst into life! You can continue to add colour. Once you have the look you want add a fine spray of water over the top at the end to make sure all the pigment is activated. Dry flat. You can dry it with a heat gun. Of course you can then spray your project with water again and add another layer of colour if you wish.             Once these pigments are dry they Don't need any fixing. If you have areas that rub off once it had dried it is because they have not been activated with water. You can rectify this by spraying it with water.       This dose take a bit of practice and of course you will never get the same effect twice. Don't be two disappointed if you first few try Don't quite work, enjoy the  process and just get to know how these powders work.      
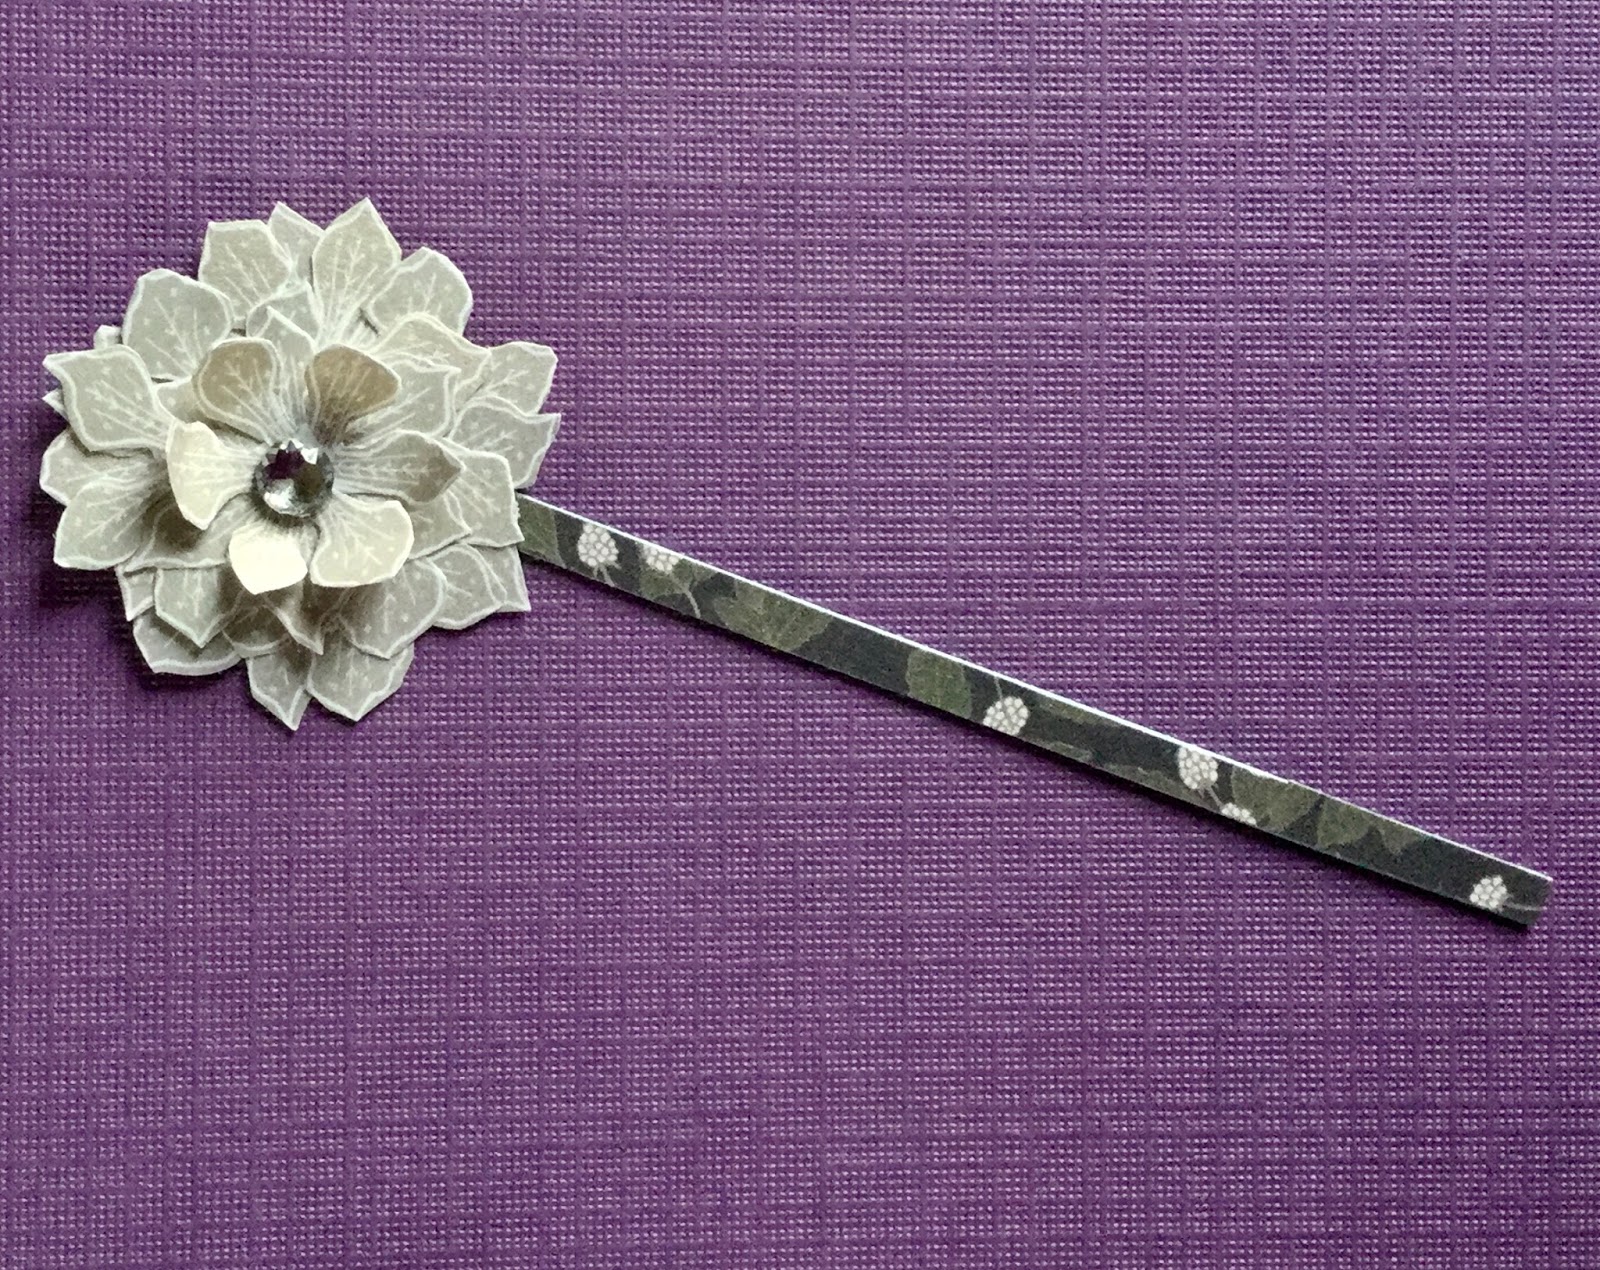
Here are a few projects I have made using both the wet and dry method.
   For this card I stamped the IndigoBlu stamp Lollypop tree and heat embossed it in white powder onto watercolour paper.     I then sprayed the paper with water and added the Indigoblu luscious pigment powders in pink and blue along with the Cosmic Shimmer Pixie Powders in silver.      I die cut the tree out in a circle with a larger circle also in watercolour paper.     I made some of the gold Cosmic Shimmer Pixie Powders up into a paint and painted the larger circle to act as a mat for my main image.   The card blank was also spritzed with water and sprinkled with the same pink powder I had used on the tree.    Using the off cuts of the tree image I cut a band to go across the card and the die cut hello.   Card 2 -
This card was made in the same way. Heat embossing the stamped image, this time from the Paper Artsy Lynne Perrella collection LPC025. Sprayed with water and then pink and gold powders sprinkled over the top.
 
The mat for the main image was also sprayed with water and sprinkled with the same powders.
 
The card blank was painted with the gold pigment made up into a paint.
 
The two lozenges were stamped and heat embossed in black powder then sprayed with water and pigment powder sprinkled over the top.


Card 3 -  
Although this card looks slightly different it is still made using the same methods.
 
The main stamped image, from the same stamp set as the one above, was stamped onto watercolour card and heat embossed with white powder. Then sprayed with water and sprinkled with blue and silver powders.
 
The mat behind was painted with the blue pigment powder mixed with water to form a paint.
 
The little lozenges this time though were stamped onto some of the offcuts from,the main stamped image and then heat embossed in black powder. I think that gave them a stronger look perhaps?
 
I then used a Chinese book paper to mount them all onto before adding it to the card blank.
 
So three different cards made using the pigment powders. There are so many ways you can use these products though. I am sure I will be showing you more ideas to use them in the near future.
 
Do have a go with them, if you enjoy your mixed media style projects you are going to love them, I promise.
 
You can find the IndigoBlu luscious Pigment Powders here-
 
Cosmic Shimmer Pixie Powders-
In The Fruit Pixie Etsy Shop
 
The IndigoBlu lollypop tree stamp -
 
Paper Artsy Lynne Perella stamps-
 
Embossing powders-
 
Card blanks-
 
If you have any questions about these powders feel free to ask them below or over on our facebook page 
 
So until next time, take care,
          Love Katrina x
   

Winter Olympic 2018 record book

Hello, design elf Katrina here. Sorry this has taken a while to get this project up on the blog but the app I have to use to get my ipad to talk to the blog was giving me troubles. It appears to have sorted itself out now so here goes!!     The winter Olympics are my favourite as I am a big Alpine Ski fan. For the past few Olympics I have made myself a record book to record the medal wins of GB and my adopted country Austria.      This is my book for this year, I used an envelope as the cover and a card blank for the page
As the cover was a Kraft colour I covered it with a layer of gesso to start.
 
Then used the Cosmic Shimmer paints in cool greens and blues with a snowflake foam stamp and to give some base colour.
 
The next layer was a layer of the wonderful IndigoBlu luscious pigment powders and the Cosmic Shimmer Pixie Powders.
 
Then to finish off I cut the Olympic rings out of icy colours and used some acrylic inks to add the date and some shimmery colour.
 
The flap of the envelope is used to close the book.
 
 Once the cover was compleat I turned to the card blank.
 
I painted one page Gold, one Silver and one Bronze using them same foam snowflake stamp I had used on the cover.
 
The pages were then stitched into the cover.
 
As it was an envelope you have a pocket on the back.
 
I downloaded the Winter Olympic logo and the cute mascot and glued them inside the cover.
 
 
Now all I have to do is record all the medals.
You can find the products I used in the shop here -
 
Card blanks 
 
Cosmic shimmer paints
 
IndigoBlu luscious pigment powders
 
Cosmic shimmer pixie powders
These can be found in the Fruit Pixie Etsy shop
 
I hope you liked my Olympic record book and will make one for yourself. Enjoy the Olympics and see you next time,
Love Katrina x
 

Thursday 1 February 2018

Craft Consortium Winter Woodland Art Journal page

Hello and welcome, I am design elf Katrina and I am here to show you what I have been up to in my craft nook.      I thought it had been a while since I had made a page for my Junk and disorderly journal by IndigoBlu. So I decided to work in that for todays post. Here is what I came up with.
I began by sticking a piece of the Craft Consortium silver snowflakes decoupage papers to a white page.
 
I then added some cosmic shimmer paint around the edges to give a sort of frame look.
 
Using the Craft Consortium Winter Woodland stamp set I stamped and heat embossed the fawn, squirrel and hedgehog along with a forest full of toadstools. I coloured them in using the Ranger Distress pens. Then cut them all out.
 
I then used the acorn bough stamp, which I stamped in brown distress ink around the page and then added some colour with pastel pencils which I smudged to give a soft look.
 
I also stamped the toadstool stamp several times on the forest floor.
 
Using my Ranger distress crayons I made the frame more pronounced around the edge of the page
 
It needed something else in the trees, so I stamped and heat embossed the pine cone stamp several times, coloured them and cut them out. Then stuck them in the trees.

Then I arranged all the animals and toadstools in the woodland and when I was happy with how they looked I stuck them down.

I found a quote I liked and wrote it on my page.

You can never have too much snow so I added some snowflake die cuts and some dots of white acrylic ink. I also ran the white acrylic ink around the frame to finish it off.

Although this page looks detailed it really is very easy to put together.

You can find the art journal I am working in in the shop here -

http://www.thefruitpixie.co.uk/indigoblu-junk-and-disorderly-art-journal-26811-p.asp

The Craft Consortium decoupage papers here-

http://www.thefruitpixie.co.uk/craft-consortium-decoupage-papers-silver-snowflakes-25870-p.asp

The Craft Consortium Winter Woodland stamps here -

http://www.thefruitpixie.co.uk/craft-consortium-clear-stamps-winter-woodland-27420-p.asp

Cosmic Shimmer paints here -

http://www.thefruitpixie.co.uk/cosmic-shimmer-paints-644-c.asp

Ranger distress ink here -

http://www.thefruitpixie.co.uk/ink-pads-84-c.asp

I think that is everything.

I hope you like my art journal page and will come back again soon so I can show you another craft project.

   Until then take care, 

         love Katrina   

Sunday 21 January 2018

Handmade sketchbook using Craft Consortium Winter Woodland papers

Hello and welcome to my latest blog post. I am Katrina, The Fruit Pixies design elf.   I love my Art Journaling and needed a small journal or sketchbook for when I want to journal in front of the TV. Of course I could of bought myself one but it is much more fun to make one yourself!
I decided to cover my hand made Sketch book with the beautiful Craft Consortium Winter Woodland papers and could not resist adding the sweet squirrel, one of the collage pieces you also get with the papers, to the front.
 
For the pages of the sketch book I used watercolour paper which I folded into 3 polios and then stitched them to a sort of false spine.
 
I then made the cover out of stiff card and covered that with the beautiful Craft Consortium Winter Woodland papers.
 
The spine of my watercolour paper pages was then glued on to the spine of the cover.
 
Once it was all dry it was ready to go!
 
If you have any questions about the making of my journal you can ask here or you can contact me through out facebook page.
 
You can find the Craft Consortium Winter Woodland papers here -
 
Our facebook page here -
https://www.facebook.com/thefruitpixie/?fref=ts
I hope you enjoyed reading my post and will come back very soon to see what else I get up to with the beautiful things The Fruit Pixie sells.                                              Until then keep warm and safe, love Katrina 

Thursday 11 January 2018

Craft Consortium Winter woodland shadow box card

Hello and a very Happy New Year!! My name is Katrina and I am the Fruit Pixies design elf.     For my first project of the year I chose to work with the beautiful Craft Consortium Winter Woodland paper pad. To be honest with you I found it so distressing to cut this beautiful paper up, I just wanted to sit and look at it! But I took a deep breath and made my first cut!!!   There are so many wonderful seasonal papers in the pad and as you get with every Craft Consortium pad some of the papers have extra special finishes. You also always get some collage pieces to cut out too.     I used some of the collage pieces to make my shadow box card.
I cut the base of the card on my Silhouette Cameo and then used the lovely papers to make the card come to life.
 
The deer, robin,toadstools and acorn branch are some of the collage pieces in the paper pad
 
The paper at the back of the card is one of the beautiful shimmering papers, covered in ghostly pine trees in the mist.
 
The paper I used to cover the outside of the card is one of my favourite. A shimmer paper covered in pine cones. The reverse of the paper, again in a shimmer finish, is the opposite colour way, so gold pine cones on an off white background.
 
If you like me love your wildlife and the winter season then this pad is perfect for you. You won’t be disappointed I promise.
 
You can find the Craft Consortium Woodland Winter paper pad here in the shop -
 
I hope you enjoyed your time hear and will come back very soon to see what other crafty ideas I come up with.
Until then keep warm and safe
                                        Love Katrina